

Overview
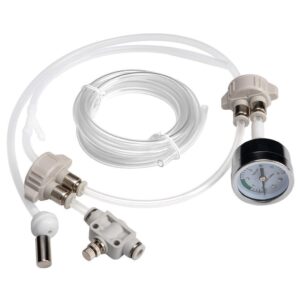
The DIY CO₂ Generator Bottle Cap Kit allows you to quickly set up a budget-friendly CO₂ system using standard PET bottles (1–2 L). It includes two screw-on caps with dual tubing ports, airline tubing, and check valves—turn any soda bottle into a yeast-driven CO₂ reactor to boost plant growth.
Key Features
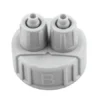
- Screw-on design: Fits standard bottle necks with O-ring seal—airtight and stable .
- Dual tubing ports: One line carries CO₂ out; the other for pressure relief or one-way valve installation .
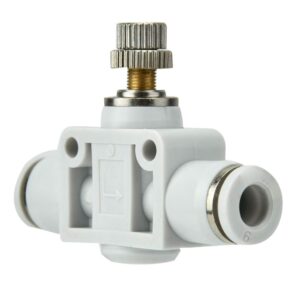
- Complete kit: Comes with caps, ~2 m CO₂ tubing and check valves to prevent backflow
- Durable materials: Made from ABS plastic with secure locking and thick walls for pressure safety.
Specifications
| Cap size | Fits 1–2 L PET bottles (~3.3–3.4 cm neck) |
|---|---|
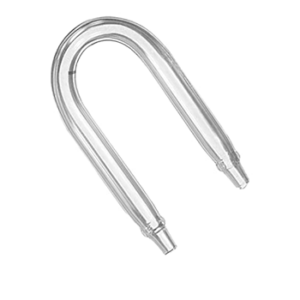
| Tubing | 4 mm ID / 6 mm OD CO₂-rated tubing (~1.6 m) |
| Check valve | Included to prevent tank back-siphon |
| Material | ABS plastic, durable and leak-resistant |
Usage Guide
- Prepare two bottles: fill one with yeast/sugar mix, the other with stabilizing citric acid/baking soda mix .
- Screw caps onto bottles with tubing and check valves installed.
- Connect tubing to bubble counter and diffuser placed low in the tank.
- System begins CO₂ production ~24–48 hrs after setup; expect 1–2 bubbles/sec in mid-sized tanks .
- Seal cap tubing with silicone or glue for airtight setup .
- Monitor pH and CO₂ output; dose conservatively and remix batches every 2–4 weeks .
Pros & Cons
- ✅ Cost-effective: A full DIY setup costs a fraction of pressurized CO₂ rigs.
- ✅ Easy to build: No special tools; uses everyday items.
- ⚠️ Pressure unstable: CO₂ output fluctuates—can cause pH swings and requires frequent refilling .
- ⚠️ Maintenance: Batches last 2–4 weeks; yeast mix needs replacement .
- ⚠️ Risk of leaks: Ensure caps are sealed—users recommend superglue + hot glue for reliability .
Reviews
There are no reviews yet.